
The first insect that I got my hands on, inspired by Tyler Thrasher, was a scorpion.
I sourced the taxidermy scorpion from an ethical company on eBay.
I chose him specifically because he stood out to me as being a large, dark and stereotypically "scary" creature. I liked the shock factor behind incorporating a real scorpion into my work.
Before I had even started working with the scorpion I was receiving strong mixed reactions from peers in my studio space, which I found very interesting.
"Wow! Is that real?" "Is it alive?" "That's disgusting!" "Can I hold it?"
I began to photograph it in different situations.
 My own hands
A peer's hands
I enjoyed the idea of photographing something as dangerous as a scorpion in the palm of my hands.
It is dead, so it is not a threat, but from photographs alone, you cannot tell whether it is dead or alive. There is a strong juxtaposition between harsh and soft.
E.G. the strong, sharp dark features of the scorpion rested calmly on top of soft, feminine hands.
I especially appreciate the model's long nails, exaggerating her femininity and making it seem unlikely that she would hold a scorpion.

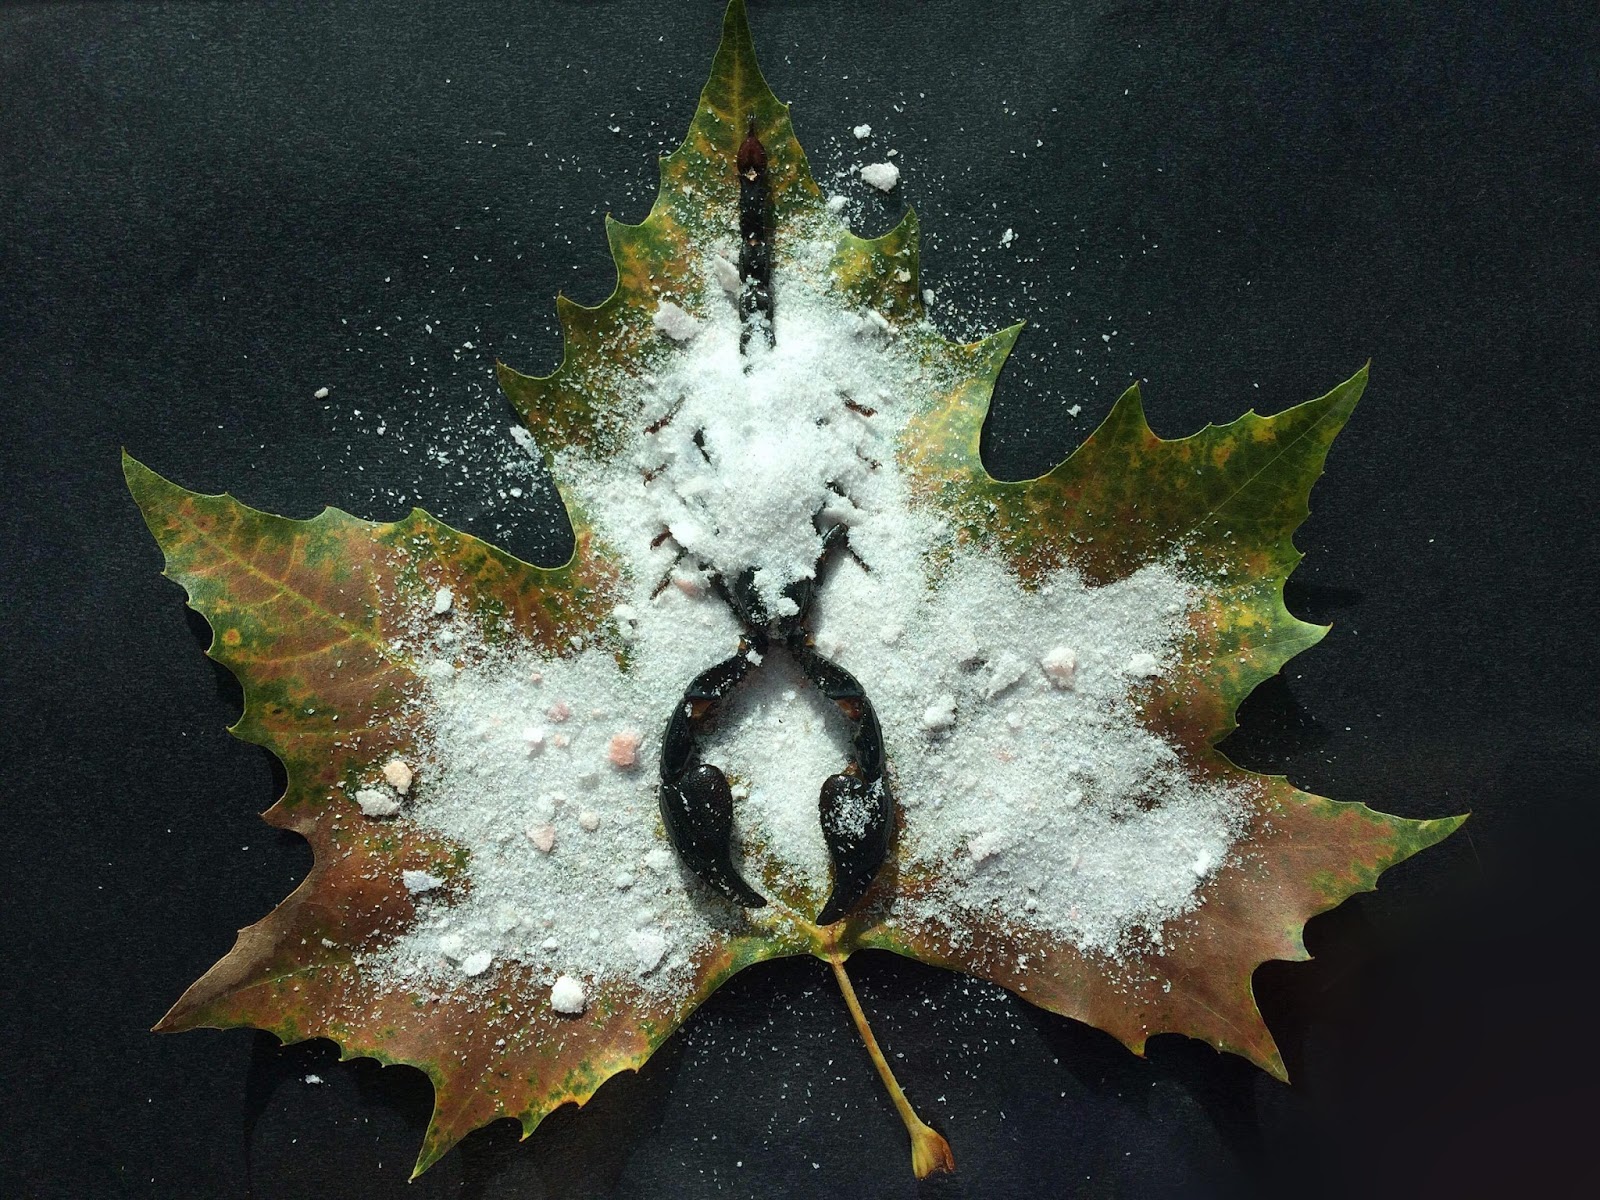
I rested him on top of a leaf, which created the same kind of harsh/soft contrast.
The leaf is a gentle, peaceful part of nature, whereas the scorpion would be a dangerous thing to encounter in nature.
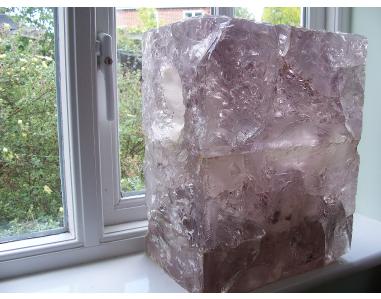
I wanted to see what the scorpion would look like engulfed in crystal, but I only had one and wished to do other things with the scorpion first. So I used some of the leftover, shattered pieces of crystal to create a scene.


I think that this photograph is specifically effective due to the close up of the claws amongst the crystal flakes. The contrast between black and white is strong, alongside the juxtaposition between dark, strong, hard claws and delicate glittering flakes of crystal. It is almost reminiscent of harsh men's boots in snow. I feel a slight connotation of masculine and feminine contrast. The scorpion being the male, and the crystals being the female.

It was interesting to engulf the scorpion in crystals, but I feel that it removed from the contrast of the image. It added some ambiguity, as all you can initially see is claws and a tail. But I feel that the scorpion amongst the crystals is more effective than the scorpion being beneath them.

Bottom right you can see my hair wisping into the image.
Below is the same image having used Paint Tool SAI to remove it.

Here is an image that I enjoy much more. I find that this is the best of both worlds, having brushed away the crystal shards enough to reveal the key components of the scorpion (thus, making it recognisable) whilst keeping it in and amongst the crystal shards as if it was part of them. There is a strong contrast, and you are also enabled to see the complete expanse of the leaf, including the overspill of the crystal shards onto the black background. Unfortunately my hair is in the bottom right again. Below is an edited image.

I think that the black background makes the entire image pop. The colours appear more vibrant by default, and the scorpion dominates the scene with a stronger contrast on top of the white.
It was around this time that I discovered Tyler Thrasher has used a scorpion in his practice before. I did not know this until after I had already bought the scorpion.

It was around this time that I discovered Tyler Thrasher has used a scorpion in his practice before. I did not know this until after I had already bought the scorpion.

Tyler Thrasher
Whilst my scorpion was clean, whole and strong, I made a quick life drawing of it to later work into.

Pencil

Pencil and borax crystals

Watercolour
I enjoyed the effect of the crystals on top of the pencil drawing, so I wanted to take it further.

I happened to have some nail polish and nail foil handy. I expected the blue foil to mimic crystallisation on a 2D scale.
Below I am attempting to apply it to the claws by smoothing it over nail polish that is 3/4 dry and tacky.
Looking carefully, you can see that the foil is constructed of many geometric shapes, which is what I wanted to mimic the geometry of natural crystals.


It was not hugely successful. The polish was not sticky enough to transfer the foil. So, instead, I sprinkled crystals on top of the polish whilst it was still wet. This effect was much more desirable and much more realistic.
Below are some close ups of the crystal shards ontop of the watercolour painting and foil.

Below you can see the effect of the foil. It is shiny and beautiful, but it did not transfer cleanly. Instead, it broke off in random shards and patches. Which, truthfully, works better than a solid transfer would have. It looks more natural when focused on.


Here is a digitally enhanced image of the finished piece.

I enjoy the contrast between saturated and unsaturated. The pops of blue amongst the black and white are very effective in my opinion.
On the close ups of the images, the contrast between natural and artificial is interesting to me. I especially enjoy the image below (digitally enhanced) because of the visible differences in what is natural and what is not. The invidivual shards of borax are visible, in amongst tiny shards of silver hexagonal glitter which are obviously not natural.
All of this alongside an ocean of shiny metallic blue.

Although these experiments with photography and 2D media was interesting, it is not what I sought out to do with the scorpion.
I originally wanted to create a cast of the scorpion, inspired by Jen Hall's work with casting natural materials.


Although, I did not have the intention of using bronze, iron or any material alike.
I wanted to use resin, inspired by the piece above of Jen Hall's.
I have been crystallising pieces, including leaves and insects. I could have easily crystallised this scorpion also, as inspired by Tyler Thrasher, but it would not have been a development.
I decided to take it a step further by, rather than aspiring to cover an insect in crystal, aspiring to CREATE an insect OUT OF crystal (resin).
I did some research online to see if what I strive to do has already been created. I found this image of a 3D rendered model. It is not a physical sculpture, but a digital model created by Egyptian Artist "Tiamatcry" using a glass texture to make it look like a genuine glass item.

3D render by Tiamatcry
https://tiamatcry.deviantart.com/art/scorpion-glass-29030192
This is a good representation of what I wish to create, although out of resin, and in the flesh.
I already appreciate the difficulty that this will give me, and I appreciate that it will not look anywhere near the same as the image above, as this digital render has much more life in it than my dead taxidermy scorpion.
Using resin comes with the possibility that it may snap or break or cure incorrectly for what I would like to do, but it will be an interesting experiment.
I began by creating a cast of my scorpion. I used clay to give it a solid base, and took care and time to ensure that there were no empty spaces beneath the scorpion. I wanted to create two moulds of the same scorpion: Vacuform and alginate.

The process of casting was long and took around a week. This proved to be a problem for the scorpion, as the moisture from the clay began to decay the scorpion from the inside. It was disgusting, and it came to the point that white, fluffy mould was beginning to form around the extremities of the scorpion. I used a paintbrush to gently brush it away, and discarded the paintbrush.
There were many problems along the way. For example, the tail fell off many times. I used superglue to reapply it neatly.


The tail was not the only thing that fell off. Many legs had to be reapplied with superglue.
Once finished, I smothered the entire piece in vaseline to avoid further mould, and to ensure that the clay/scorpion would not get stuck when casting.
First I used a vacuform machine.

Vacuform machines work by heating a sheet of plastic until it is soft and malleable.
Next, the soft plastic is placed above the object you wish to vacuform. Whilst it is warm, a vacuum removes all of the air from between the plastic and the object. Since the plastic is hot and bendy, it matches the exact shape of the object below. As the machine cools, the plastic cools to create a hard shell mould of the object that you can then use for casting.
Above are the results.
I removed the scorpion and clay. It remained mostly intact, which allowed me to cast it again. This time, using alginate.

Using clay, I built a wall around the scorpion to contain the alginate.
I ended up shrinking the wall to be much tighter around the scorpion, before finally adding alginate and ensuring to completely cover the scorpion. I poured slowly to avoid air bubbles.


2 days later I returned to this. Complications prevented me from returning to it sooner, and in that time, the alginate had cracked and shrunken quite a bit. I wasn't sure it if would work, but I carefully pried away the clay to reveal the alginate "mould."

On first glance, it seemed to be alright.
But on closer inspection...

There was a large crack through the mould.
It seemed beyond repair, but I wasn't going to allow myself to have wasted time and money.
I used clay to patch it up, and mixed up some plaster. I allowed the plaster to thicken slightly before beginning to pour it into the alginate mould. This way, it would be less likely to seep into the cracks.

As you can see, there were some fatalities with the scorpion.
The tail broke away from the body (again) and one of the claws began to weaken and hang.
I knew it was going to fall off, so I removed both claws so that I could keep them.

They are the most intriguing and iconic features of the scorpion.
I will put them to good use somehow.
I also filled the vacuform cast with plaster.

Reflection so far:
I think that a scorpion was my best option when attempting to cast an insect. The strong exoskeleton means that the scorpion remained mostly intact and durable throughout the harsh treatment and repeated casting.
Something like a moth, butterfly, beetle or wasp would almost definitely break much more easily than my scorpion has. It was pure luck that I ended up finding a scorpion, but it seemed to be the most beneficial bug I could have bought for what I wanted to do.
Results:
Alginate Mould:

Vacuform Mould:

The differences are very vast. They both have their own pros and cons.
Alginate mould results:
Incredibly detailed. The "dirt" is leftover clay. There is more detail, but I am unsure if the small details would be captured in a resin mould. This plaster scorpion is very delicate, so I would have to work with it with extreme care. The tail of this mould is misshapen due to the faults with the alginate mould that I could not fix with clay.
Vacuform mould results:
Less detailed, but completely whole and strong. The tail is not broken. A perfect blueprint of the original scorpion, only much smoother due to the loss of fine detail. I enjoy how the scorpion seems to be neatly sat on a smooth stone. It does not seem out of place on the thick plaster base.
I wonder if it look out of place to have a resin scorpion on a resin base, or if the scorpion would seem invisible ontop of a resin base.
No comments:
Post a Comment